


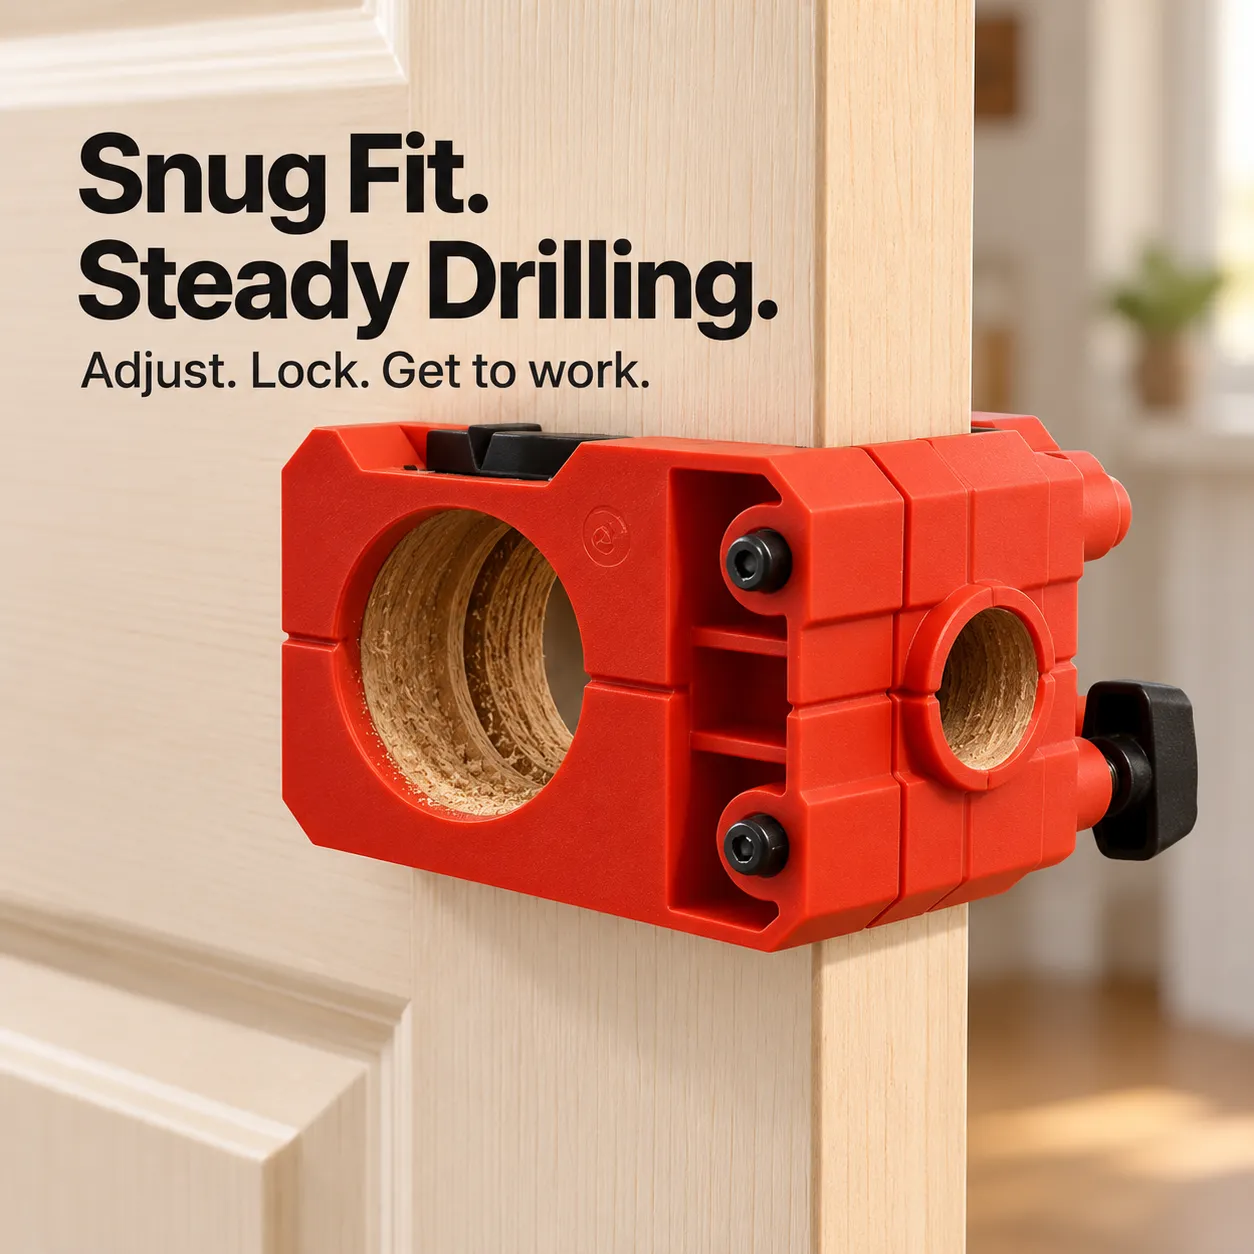
🔩 Clamp Firmly Before Drilling
Ever worried about your guide shifting after you mark the hole? The adjustable clamping design grips a compatible door edge, helping hold the drilling template in position while you work.
SHOP BY HOLIDAY


Spend $50 more to get FREE DELIVERY!


Once an order is placed, it cannot be cancelled as we begin processing immediately to ensure quick delivery. If you receive an item you no longer want, you may return it according to our return policy.


Couldn't load pickup availability
-
Ordered
- - -
Order Ready
- - -
Delivered

One crooked hole can turn a simple door lock upgrade into a frustrating repair. Clamp the guide, line up the backset, and drill with more confidence. Designed for common interior wood-door lock installations, with two hole saws included for the job.

Door lock holes must line up with the hardware you install. A fixed drilling guide helps you position the holes before the first cut, rather than relying on repeated freehand measurements.
Tap a feature to see how it helps with your door project.
Designed around the steps that matter when fitting new door hardware.
Ever worried about your guide shifting after you mark the hole? The adjustable clamping design grips a compatible door edge, helping hold the drilling template in position while you work.
Installing a lock typically requires both a large face opening and a smaller latch opening. The kit includes 2-1/8 in and 1 in hole saws, plus an arbor bit, so the matching cutting sizes are ready for your project.

Replacing a knob or preparing a door for a lever or deadbolt? The jig supports 2-3/8 in and 2-3/4 in backsets, two common residential lock layouts. Check your hardware template before making any cuts.
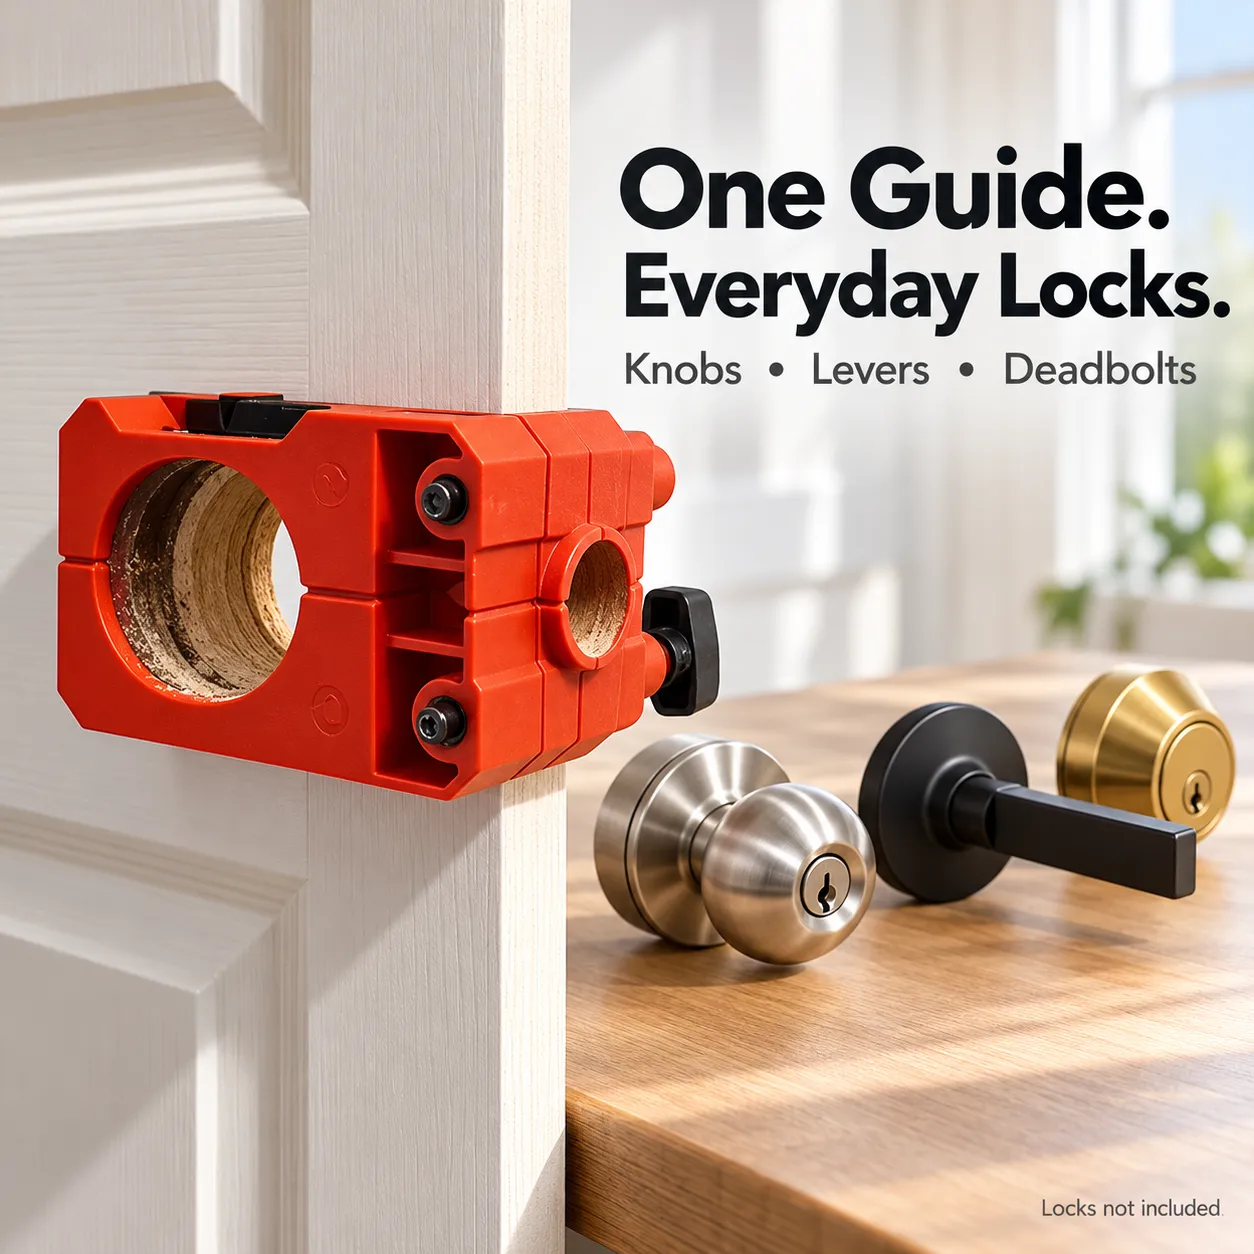
A worn lock shouldn't turn a weekend project into a guessing game. Position the jig, drill the required openings, and fit compatible hardware with a more organized installation process.
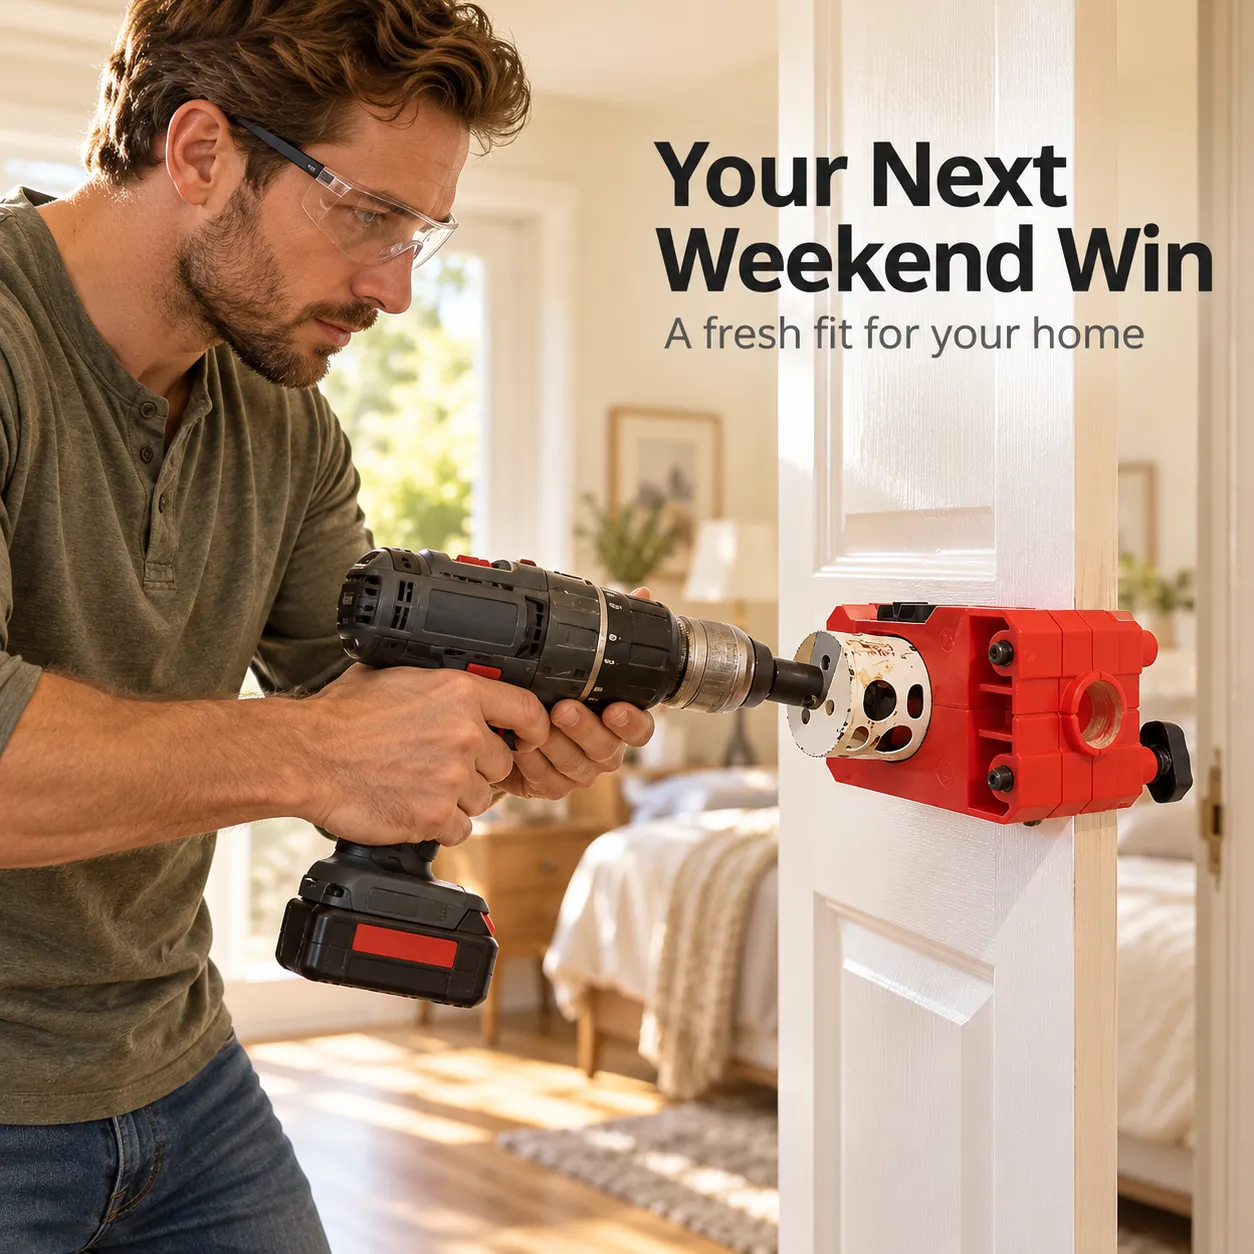
Measure twice, confirm your hardware requirements, and work through each step.
Check door thickness, backset and lock height. Position the jig on the door and tighten it securely.
Use the appropriate hole saw through the guide. Drill the face opening carefully from both sides to help reduce exit-side tear-out, then make the latch opening.
Take off the jig, clean the openings, and follow your lock manufacturer's installation instructions to fit and test the hardware.

Select the available option at the top of the product page.
Door Lock Installation Jig Kit Red guide · Two hole saws · Arbor bit ↑Check these measurements against your door and lock hardware before drilling.
Helpful answers before you start your door upgrade.
Tracking details for eligible shipments.
Follow your order's delivery progress.
Packaging designed to protect your purchase.
Help with order-related questions and concerns.
Get a reliable starting point for common door lock installations. Check your measurements, choose your kit and make your next DIY upgrade a more organized project.
🛠️ BUY NOW ↑ Return to the top to select your kit.For DIYers who enjoy a cleaner, more organized approach to home upgrades.
I've worked on a few interior doors, and getting the hole placement right is always the part I think about most. Having a guide that clamps to the edge and supports the common backset sizes makes the layout feel much more straightforward. I also like the idea of having both hole saw sizes together rather than hunting for separate parts before starting the job.
I'm always looking for ways to make weekend home projects more organized. The two common backset settings are a big part of why this jig interests me. Being able to position the main lock bore and the door-edge opening with one guide is much better than trying to line up several separate measurements by eye.
What appeals to me is having a practical tool for replacing an old bedroom or utility-room lock. The adjustable clamp and included hole saws make it feel like a more complete setup for the preparation work. I'd still double-check the lock template before drilling, but having a dedicated guide makes the job less intimidating.


